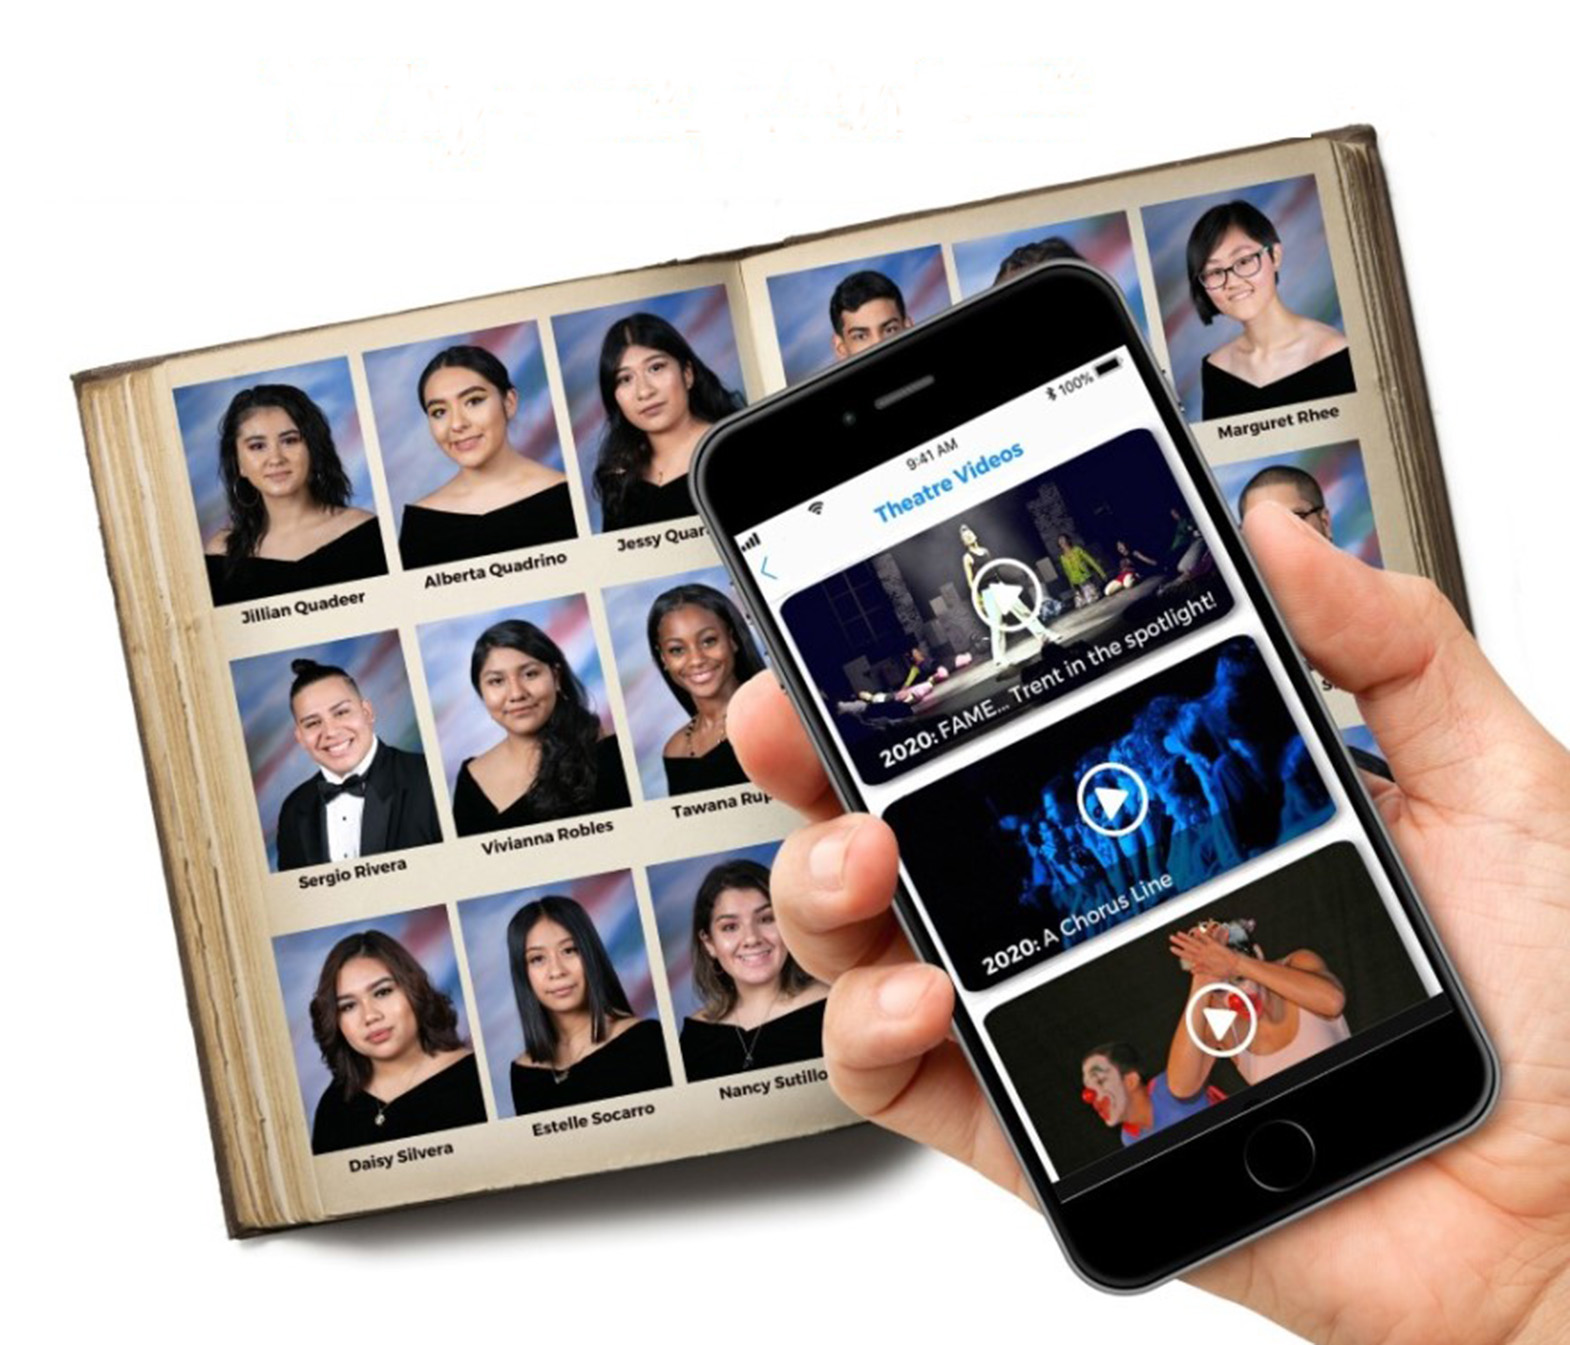
Introduction Creating a yearbook can be one of the most rewarding experiences for students, yet it can also feel overwhelming. Fortunately, YearBoxx streamlines this process, making it easier than ever to craft a beautiful digital yearbook. Here’s a comprehensive guide on how to create your yearbook using YearBoxx.
Step 1: Sign-Up Process Getting started with YearBoxx is simple. Visit the YearBoxx website to sign up and download the YearBoxx app. The user-friendly interface ensures that even those who aren’t tech-savvy can navigate the setup process without difficulty.
Step 2: Content Collection The heart of any yearbook lies in its content. With YearBoxx, you can easily collect and organize photos and videos through a drag-and-drop interface. Gather contributions from classmates, teachers, and parents to ensure you capture the full spectrum of school life—from sports events to candid moments in the hallways.
Step 3: Review and Publish Once your content is organized, you can review it and make real-time edits. This flexibility allows for collaborative input, ensuring that every voice is heard. When you’re satisfied, publishing is as easy as clicking a button, making the yearbook accessible for download on students’ devices.
Step 4: Customization Customization is where YearBoxx shines. You can add personal touches, such as unique themes, fonts, and layouts that reflect your school’s spirit. Each student also gets their own MY PAGE, a space where they can curate their memories, making the yearbook even more special.
Conclusion Creating a yearbook has never been easier or more fun. With YearBoxx, the process is streamlined, allowing students to focus on what matters most—celebrating their school year and the memories they’ve made. Start your yearbook journey today and unlock the possibilities with YearBoxx!


